
Category: Guides

  • How to Style Plants on Floating Shelves: Light, Fit, and Care

    By Vervida Home

    Style plants on floating shelves by checking the growing conditions before choosing the composition. A pot must fit fully on the shelf, the plant must suit the light at that location, and you must be able to take it down for care without stretching or standing on furniture. Start with a small display; if the wall fails those checks, choose another plant location.
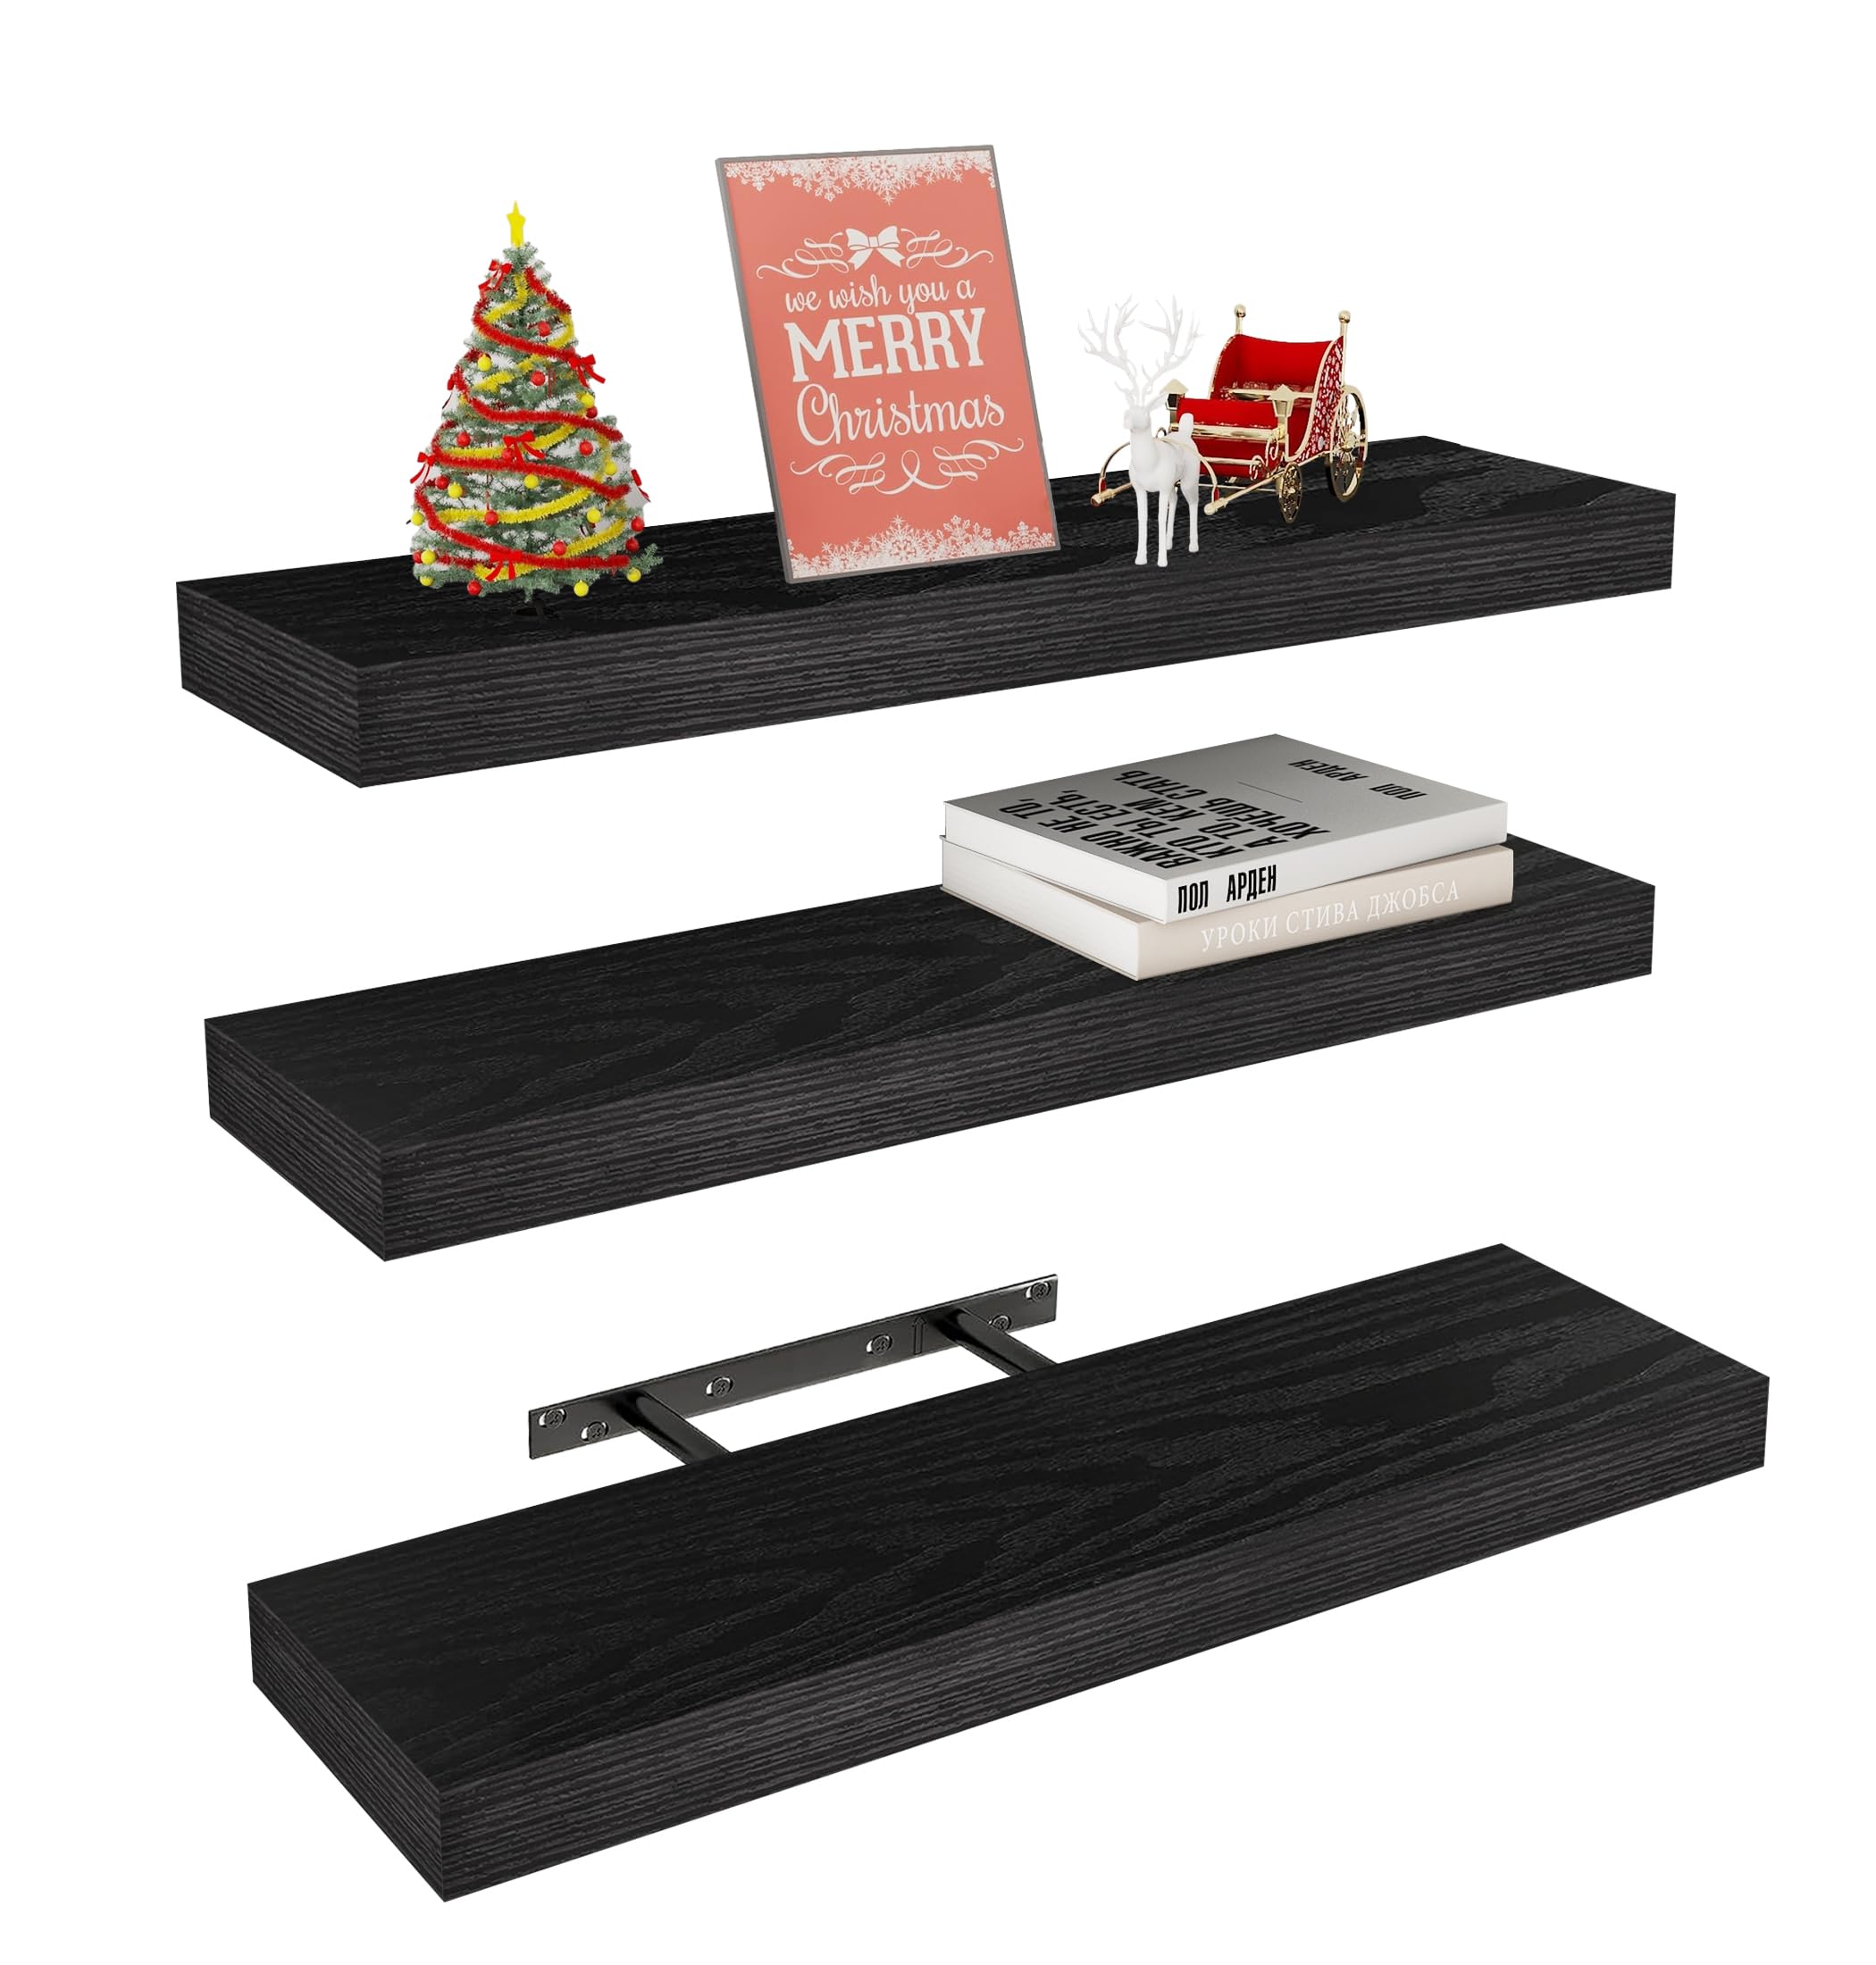
    Vervida 24 inch black floating shelves with invisible brackets

    This manufacturer image identifies the shelf configuration. It does not show a tested living-plant installation or establish that a particular pot will fit.

    How we made this guide

    This AI-assisted guide uses the verified Vervida launch-product record, University of Minnesota Extension's indoor-light guidance, and University of Maryland Extension's watering guidance. Plant-care facts are separate from our display suggestions. We did not grow plants on these shelves or test the material's response to water.

    Check the light on the shelf, not elsewhere in the room

    University of Minnesota Extension recommends selecting plants whose requirements match the actual indoor light environment. A room described as bright can still have a shaded shelf, especially when it sits far from a window or below another shelf.

    Observe the proposed location at different times of day before choosing a plant. Consider window direction, curtains, and shadows from the room and the shelf arrangement. Use that observation to discuss an appropriate plant with a nursery or consult species-specific guidance. Do not treat every plant labeled for lower light as interchangeable, or assume a trailing plant will thrive because it looks attractive in a styled image.

    If the wall is unsuitable for a living plant, an empty section, a small frame, or an artificial plant may achieve the visual effect without a plant-care problem. There is no requirement to put living plants on every shelf.

    Measure the whole pot and saucer

    Measure the base footprint of the pot, cachepot, and saucer together. Compare it with the usable shelf surface. Decorative pots often widen above the base, so also check how much space their widest section occupies next to other objects.

    The verified Vervida launch shelves are 24 inches long, 5.8 inches deep, and 1.5 inches thick, made from engineered wood. A 5.8-inch depth is a measurement, not a universal pot-size recommendation. The complete base must fit without overhanging an edge, and the display needs a wall-specific support assessment.

    Consider the total weight of the plant, pot, saucer, and growing medium after watering. A dry, empty pot does not represent the finished display's weight. Use the selected shelf's current instructions and ask a qualified installer if the mounting or load suitability is uncertain.

    Build a display around one plant group

    For a restrained arrangement, choose one plant group as the focal point and leave an open section beside it. The amount of open space is a visual decision, not a load limit. Look at the display from the doorway and from the room's usual seating position before adding another object.

    If the plant trails, check where the foliage will go as it grows. Keep it away from walking routes, nearby electrical equipment, and objects you need to remove regularly. A plant that blocks a book or frame can make a display awkward to use even when the original arrangement looked balanced.

    Keep the overall plan adjustable. A plant can grow beyond the arrangement, and an attractive pot may need to move when care requirements change.

    Plan an off-shelf watering routine

    University of Maryland Extension explains that small plants can be watered in a sink and returned after the water drains, with excess water emptied from the drainage saucer. That makes a useful starting point for a removable display. Water according to the plant's needs rather than a fixed decorative refresh schedule.

    Before placing the pot, rehearse the removal and return with the empty container. You should be able to reach it comfortably without leaning over other objects. For plants you can manage this way, take them to an appropriate watering location, let them drain, empty excess saucer water, and check the exterior and shelf surface before returning them.

    A saucer helps contain routine drainage but is not a guarantee against leaks or spills. The Vervida record does not establish water resistance. If water management cannot be kept separate from the shelf, choose another surface for the plant rather than treating a decorative tray as a material upgrade.

    Keep care access ahead of symmetry

    A symmetrical arrangement may look polished but still be difficult to maintain. Use care access as a final check before installation:

    • Does the selected plant suit the light at the proposed position?
    • Does the whole pot and saucer footprint fit fully on the shelf?
    • Has the watered display's total weight been considered?
    • Can the pot be removed and returned without awkward reaching?
    • Is there space for growth without blocking room use or nearby objects?
    • Can routine watering occur away from the shelf and electrical equipment?

    If any answer is uncertain, simplify the composition or move the plant. A shelf with one maintainable focal point is more useful than a fuller display that cannot be cared for comfortably.

    Source and limits

    Product dimensions and material use the owner-verified July 6, 2026 manufacturer record. The university sources inform light selection and routine watering; they do not approve a specific shelf load or Vervida installation. Plant choice, wall condition, mounting, and household access require individual consideration. No claims about pet suitability or material moisture resistance are made.

    Related reading

    If this configuration fits your care and measurement checks, check current Vervida shelf details on Amazon.

  • How to Organize Books on Floating Shelves: A Small Collection

    By Vervida Home

    Organize books on floating shelves by fit and use before arranging them by color. Select a small reading collection, measure the largest books and the bookends, and check the total intended load against the selected shelf's instructions. A display shelf is not automatically suitable for a wall-to-wall library, and an empty stretch of shelf is not an invitation to keep adding books.

    Vervida 24 inch black floating shelves with invisible brackets

    This manufacturer image shows the shelf configuration, not a tested book-storage installation. No book count or installation capacity is established by the image.

    How we made this guide

    This AI-assisted guide combines verified launch-product dimensions with a limited storage principle from the Library of Congress guide to storing books: oversized books stored flat should be fully supported underneath. Organization examples are editorial suggestions. We did not weigh a book collection, test the shelves, or assess preservation suitability for valuable volumes.

    Pick the collection before picking the arrangement

    Choose the books you actually want near this location: current reading, occasional references, or a small display group. Keep those purposes distinct. If you need most of your collection close at hand, appropriately sized book storage may suit the job better than a few decorative wall shelves.

    For a reading corner, keep current books together rather than distributing them across several decorative groups. For a desk, group references by the task that makes you reach for them. A system that follows how you use the books is easier to maintain than one chosen only for a photograph.

    Check depth before choosing upright or flat storage

    Measure each book from spine to outer edge, then compare that depth with the usable shelf surface. Check bookends at the same time: a wide or projecting base can take more space than the row of books alone.

    The verified Vervida launch configuration provides a concrete example: each shelf is 24 inches long and 5.8 inches deep, with a thickness of 1.5 inches. Do not assume that a large hardcover fits simply because there is enough horizontal length for several spines.

    If an oversized book must be placed flat, the Library of Congress guidance calls for full support underneath. A narrower display shelf is not the right surface if the book extends beyond it. Choose deeper suitable storage instead of using a protruding stack as a styling solution.

    Make one useful group, with room to retrieve a book

    For ordinary reading books that fit upright, test a supported row on a table first. Use stable bookends suited to the shelf and book sizes, and check that the group remains upright when a volume is removed. Bookends add weight and occupy shelf space; include both in your measurements.

    Do not wedge the books so tightly that removing one requires pulling the whole group forward. Equally, do not rely on a decorative object to support a row unless it is actually suitable for that role. Separate visual decoration from the practical job of keeping books in place.

    A useful test is to remove the middle book and return it. If that disrupts the arrangement, reduce the group or change the support before moving it to the installed shelf.

    Treat visual balance and load as different questions

    Alternating a book group with an open section can make the wall look calmer. It does not establish that the mounting system can support the load. Neither symmetry nor a short row of books is a capacity test.

    Weigh the intended books, bookends, and any decorative objects together. Confirm the applicable limits in the selected product's current instructions and the wall-specific mounting plan. Do not convert a manufacturer's ambiguous load statement into a per-shelf promise or a fixed number of books.

    If the suitable load or support is uncertain, use another storage location while you obtain qualified installation advice. Avoid adding a new book just because there appears to be room at the end of the row.

    Add decoration only after the books work

    Once the reading group fits and can be used comfortably, decide whether it needs anything else. A small frame may be enough, or the books may already provide all the color and variation the wall needs.

    Keep liquids and plant-watering activities separate from the book group. This is a practical arrangement choice, not a promise that a tray can protect books or an engineered-wood shelf from every spill. Valuable, fragile, or irreplaceable books deserve a storage decision based on their condition, not just the look of a floating-shelf display.

    Use a rotation rule instead of expanding the row

    Choose a simple maintenance routine: when a finished book leaves the display, another can take its place only after fit and weight are checked. Keep the remaining collection in suitable storage elsewhere.

    • Select the small group you use at this location.
    • Measure books and bookend bases against the shelf surface.
    • Test removal and return on a table before arranging the installed shelf.
    • Check combined weight and current installation instructions.
    • Reassess the group whenever its contents change.

    The aim is an accessible reading selection, not the maximum possible book count.

    Source and limits

    Vervida dimensions come from the owner-verified July 6, 2026 manufacturer record. The Library of Congress principle concerns support for books, not the structural capacity of wall shelves. Its page was rate-limited during this review; the specific full-support statement was checked in its indexed source excerpt. This guide does not replace product instructions, a wall assessment, or advice from a conservator for valuable books.

    Related reading

    If the verified dimensions suit your selected collection, check current Vervida shelf details on Amazon.

  • Floating Shelves in a Small Bedroom: Choose One Useful Wall

    By Vervida Home

    In a small bedroom, start with one wall and one job for the shelves. A limited display above a dresser or beside a reading area may be more useful than filling every open wall. Measure the objects and the way you move through the room before choosing a shelf length or depth. This guide does not recommend placing shelves or loose objects directly above a bed.

    Vervida 24 inch black floating shelves with invisible brackets

    The image shows the product configuration, not an installed bedroom layout. Use the planning examples below with measurements from your own room.

    How we made this guide

    This AI-assisted guide uses the owner-verified Vervida product record for dimensions and material. Bedroom layout ideas are editorial suggestions, not measured installation trials. For the optional living-plant example, we checked University of Minnesota Extension's indoor-light guidance. We do not assess wall support, child access, or individual plant suitability.

    Choose the problem the wall should solve

    Write down what you want to move off a horizontal surface. If the answer is laundry, bedding, or a large book collection, a narrow display shelf may not solve the main storage problem. Use appropriately sized furniture or closed storage for those items and keep the wall arrangement focused.

    A shelf might instead give a home to a few framed photographs, selected reading materials, or small objects that currently compete for dresser space. Choose that small group first. Buying more shelf space before sorting the objects can simply move clutter from the dresser to the wall.

    Option 1: a display associated with the dresser

    A wall near the dresser creates a clear relationship between furniture and display. Outline the intended shelf before drilling, then compare it with the width of the furniture and any nearby mirror.

    Check practical movements as well as appearance. Open drawers, stand where you normally dress, and reach for objects on the dresser. A shelf should not occupy that working space or obscure a mirror you use daily. Keep the display limited so that the dresser remains available for its original purpose.

    If the wall is crowded by a mirror, outlet, window, or door, choose a different wall rather than squeezing shelves into the remaining gaps.

    Option 2: a small reading-corner display

    If the room already has a chair or a reading area, a nearby shelf can give a small selection of books a defined home. Plan the arrangement around the actual chair, lamp, and route through the room. Do not assume the same location works for both a low chair and a taller desk chair.

    Keep frequently used items within a comfortable retrieval routine. Avoid layouts that require reaching over the chair or standing on furniture. If a shelf must sit out of convenient reach, make it an occasional display rather than daily-use storage.

    Measure the largest book's depth and the footprint of any bookends. A group that looks compact from the front can still need more shelf depth than expected.

    Option 3: leave the bed wall open

    An open bed wall is a valid design choice. The room does not need shelves above the pillows to look finished. Consider wall art or a simpler wall treatment instead, and locate shelf storage away from the sleeping position.

    This guide deliberately avoids recommending overhead shelf placement at a bed. It cannot establish that a mounting system, loose object, or arrangement is appropriate above someone sleeping. A shelf's appearance does not resolve that question.

    Compare length and projection separately

    Shelf length determines how much horizontal wall the arrangement occupies; depth determines how far it projects. Both matter in a compact room.

    For a concrete comparison, the verified Vervida launch configuration is a set of three black engineered-wood shelves, each 24 inches long, 5.8 inches deep, and 1.5 inches thick. Mark the full projection with a temporary paper mock-up or a measurement from the wall. Check the doorway, wardrobe doors, curtains, and normal walking route before deciding it fits.

    You do not have to use all three shelves on the same wall. Nor should set size be treated as a reason to fill a room with display. Choose locations based on the objects and wall conditions, following the selected product's instructions.

    Keep the finished arrangement easy to maintain

    Group related items and leave space to remove them for cleaning. An object that is difficult to retrieve is likely to stay where it is, even when the display needs attention.

    If adding a living plant, check the available light at that exact location. University of Minnesota Extension advises selecting plants whose requirements match the indoor light environment. A decorative corner that looks bright in a photograph is not proof that it suits a particular plant.

    Before buying, finish this one-wall checklist:

    • The shelves have one defined job and an identified group of objects.
    • The proposed location avoids the sleeping position and normal movement.
    • Object bases fit fully on the selected shelf depth.
    • Doors, drawers, curtains, switches, and outlets remain usable.
    • The wall and mounting plan have been checked against current instructions.

    Source and limits

    Product references use the owner-verified July 6, 2026 manufacturer record, not a current price or availability check. The room plans are suggestions, not load, installation, or child-safety tests. Wall suitability and object weight need individual assessment; ask a qualified installer when uncertain. The plant-light source does not endorse a specific shelf or bedroom installation.

    Related reading

    Once the measured arrangement makes sense, check current Vervida shelf details on Amazon.
  • Floating Shelves Above a Desk: Plan a Clear Workspace

    By Vervida Home

    Plan floating shelves above a desk around the workstation you already use, not around a symmetrical wall photograph. Keep the monitor where it works for you, reserve space for its adjustments, and use the shelves for a small number of items that do not need to live on the desktop. A shelf beside the monitor may serve the room better than one directly over it.

    Vervida 24 inch black floating shelves with invisible brackets

    This is a manufacturer product image, not a photograph of an installed desk layout. The layouts below are planning examples.

    How we made this guide

    This AI-assisted editorial guide combines verified Vervida launch-product information with OSHA's monitor-placement guidance. The layout suggestions are our planning recommendations, not independent installation tests or an assessment of your wall.

    Start with the screen, chair, and light

    Set up the desk as you normally work before measuring the wall. OSHA recommends placing the monitor in front of you and positioning the top of the screen at or below eye level. That is guidance about the workstation, not a specified mounting height for a floating shelf.

    Do not raise or shift the screen simply to fit a shelf arrangement. Check its highest normal position if it uses an adjustable arm. Also note desk lighting, window coverings, outlets, and cables that need to remain accessible.

    Then separate your intended objects into two groups: supplies used repeatedly during work, and occasional-use or display items. Keep frequently used supplies where you can access them comfortably; do not design a storage plan that makes you repeatedly reach over the monitor.

    Layout A: a single visual line above the workstation

    One shelf can provide a quiet horizontal line when the wall has enough open space. Use it for occasional-reference items or a small display, rather than as overflow storage for everything on the desk.

    Before selecting this layout, make a paper or tape outline of the shelf's length and depth. Sit at the desk, move the monitor through its usual positions, and stand up normally. If the proposed shelf or objects intrude into that movement, choose another position. A wall outline helps with scale; it does not establish that drilling or loading is safe.

    Layout B: an offset group beside the screen

    An offset arrangement is worth considering when the screen occupies most of the desk's central wall. Place the planned shelf group to one side so that screen adjustments and daily work remain visually separate from the display.

    This is useful for a frame, a small reference collection, or a container used occasionally. Check the chair's travel and the route into the desk area. A shelf that looks tidy from the doorway can still project into the place you stand when plugging in equipment.

    Layout C: shelves on the adjacent wall

    The best desk storage does not have to be directly above the desk. An adjacent wall may make occasional-use items easier to see without putting them over the keyboard, screen, or seated working position.

    Check both viewpoints: sitting at the workstation and entering the room. Keep essential desk supplies on the desk or in suitable nearby storage. If the shelves would create an awkward retrieval routine, use them for a display and solve supply storage separately.

    Measure the objects before choosing shelf depth

    Measure the base of the actual container or frame stand, not just its visible front. A stand can extend farther than the frame, and a book can be deeper than it appears when viewed spine-first.

    The verified Vervida launch configuration has three black engineered-wood shelves, each 24 inches long, 5.8 inches deep, and 1.5 inches thick. Those dimensions help you compare an outline with the wall; they do not mean every desk container will fit or that every mounting location is suitable.

    Use the floating-shelf depth guide to decide whether another depth would better support your objects. Avoid allowing a container base or frame stand to overhang a shelf edge.

    A before-drilling checklist

    • Keep the monitor in its normal working position and check its adjustment range.
    • Outline the proposed shelf, including its projection into the room.
    • Measure every intended object's base, height, and weight.
    • Keep outlets, cables, switches, and window coverings accessible.
    • Check wall construction and possible concealed services before drilling.
    • Follow the selected shelf's current instructions; ask a qualified installer when wall support or the mounting plan is uncertain.

    If the arrangement solves only a visual problem but makes work less convenient, reduce the display or move it to another wall. A clear desktop is more useful than a shelf system that forces the rest of the room to work around it.

    Source and limits

    Product dimensions and material come from the owner-verified July 6, 2026 manufacturer record for the launch configuration. OSHA supports the screen placement discussion, not any shelf clearance, mounting method, or load approval. The proposed layouts require checks against your own wall, objects, and current manufacturer's instructions. No hands-on installation was performed for this guide.

    Related reading

    If this configuration fits your measured layout, check current Vervida shelf details on Amazon.

  • How to Style Floating Shelves Without Clutter

    How to Style Floating Shelves Without Clutter

    By Vervida Home · Reviewed July 22, 2026

    A calmer floating-shelf display usually starts with one focal idea, a small number of supporting object groups, and visible breathing room. Rather than trying to fill every open inch, arrange related objects together, vary their scale deliberately, then remove what does not help the composition.

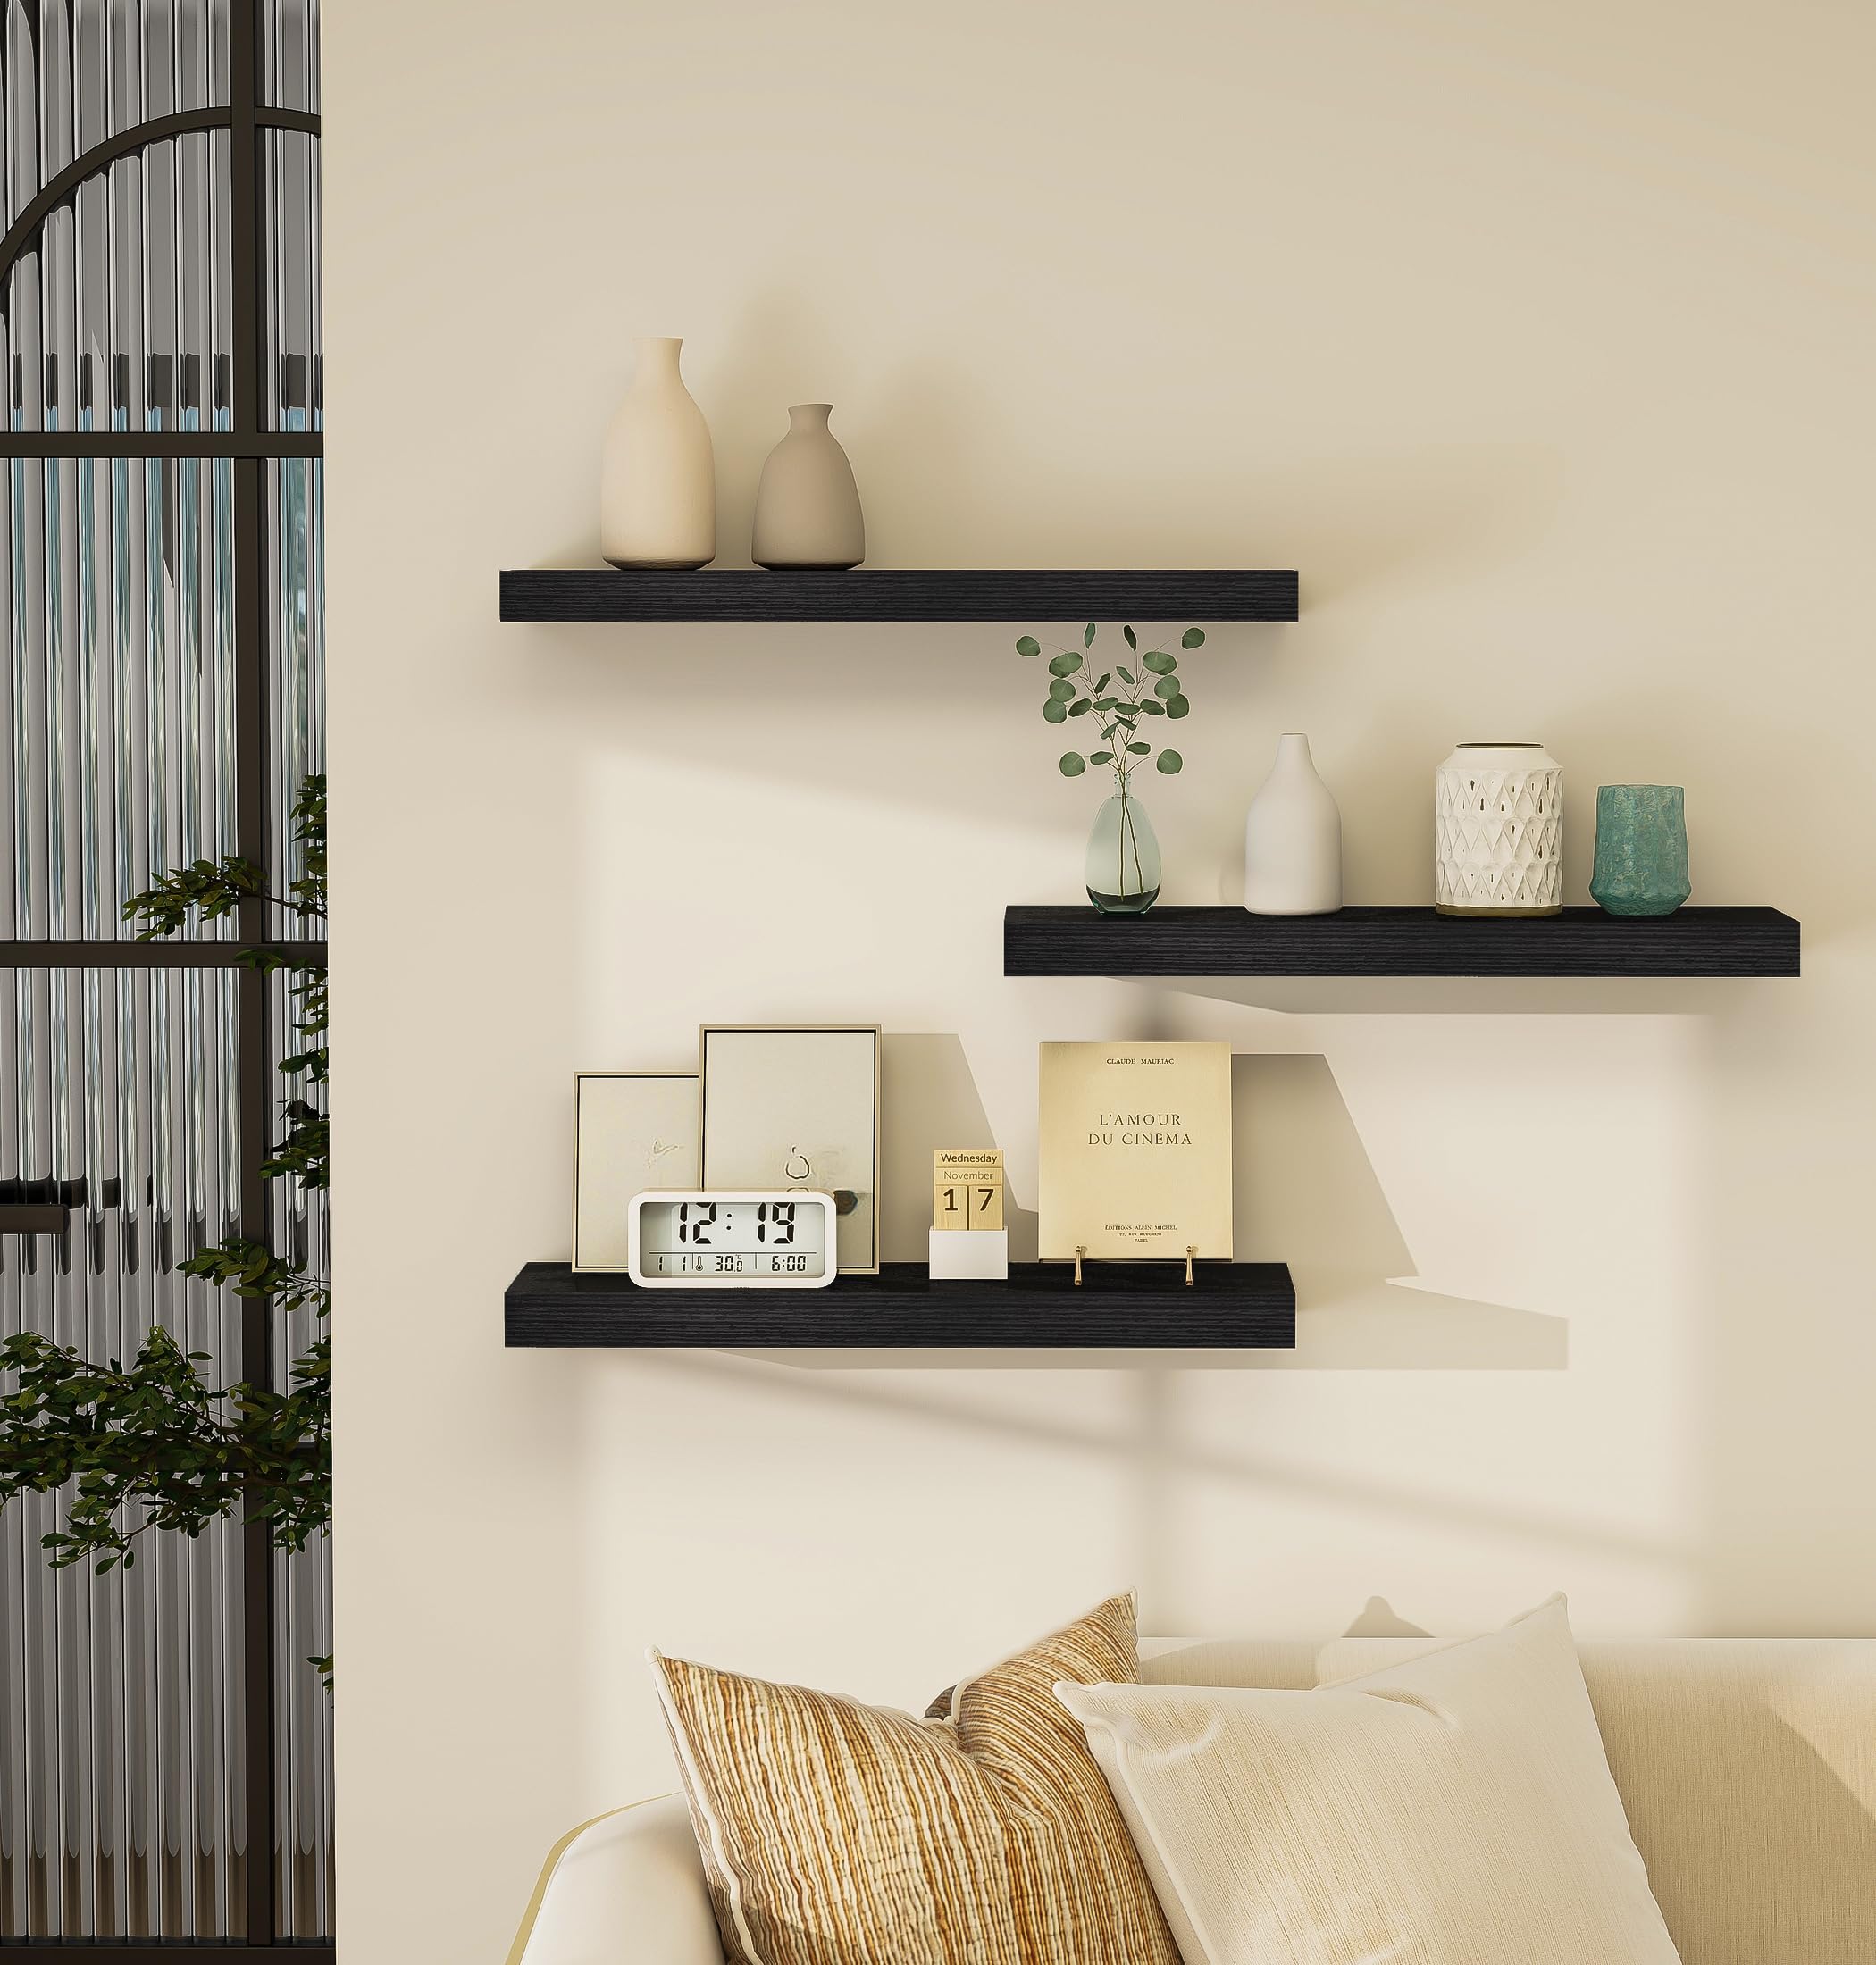
    Three black floating shelves styled in a living room

    How we made this guide

    This guide adapts museum and visual-communication display principles to home shelf styling. It is not experimental research on floating shelves in homes and does not make mounting or load-distribution claims.

    Choose one focal idea

    Give each shelf arrangement a clear purpose: perhaps a small reading corner, a green accent, or a frame-and-ceramic grouping. Once the focal idea is clear, every supporting object should reinforce it. If an object has no role in the visual story or the room’s daily use, leave it out.

    Group related objects

    Place objects that belong together close enough to read as one group. Separate unrelated groups so the eye can understand each arrangement without scanning a continuous row of unrelated items. This approach makes a shelf feel intentional even when it holds practical items.

    Leave breathing room

    Visible space around and between groups helps the display remain legible. Empty space is not unfinished space; it gives the focal object and supporting pieces room to register. Edit down before adding more accessories.

    Use scale and contrast with purpose

    Vary height, shape, or texture so the arrangement is not flat, but keep the variation connected to the focal idea. A taller plant, a lower stack of books, and a small frame can create a readable rhythm without requiring a fixed object count, an odd-number rule, or perfect symmetry.

    Style after the practical plan is settled

    Decor does not change the need to confirm wall construction, mounting instructions, and suitable use. Keep fragile or heavy objects consistent with the installation plan, and reconsider the layout if the intended objects no longer fit the available surface or room clearance.

    Browse options

    Check current Vervida shelf details

    Suitable and unsuitable scope

    Suitable: Arranging books, plants, frames, and small objects into a clearer and calmer shelf display.

    Not suitable: Deciding mounting, capacity, moisture resistance, child safety, pet safety, or accident-prevention requirements.

    Source and limits

    Sources reviewed: the Smithsonian’s Guide to Exhibit Development for focal ideas, the National Museum of American History’s design-team notes for visible space, and Frontiers research on relational learning for visual grouping. These sources inform a home-styling framework, not shelf-safety testing.

    The source material supports focal points, visible space, grouping, simplification, and deliberate scale variation. It does not establish a mandatory number of objects, a symmetry rule, or a universal styling formula.

    Related reading

  • How to Plan Floating Shelf Bathroom Storage: Dry-Zone Ideas and Limits

    How to Plan Floating Shelf Bathroom Storage: Dry-Zone Ideas and Limits

    By Vervida Home · Reviewed July 22, 2026

    Plan bathroom floating shelves as dry-zone storage, not as a promise that a shelf is waterproof or suitable for every wall. Address leaks and condensation first, measure the available wall and circulation space, and check the intended drilling area before choosing a mounting location.

    Black floating shelves used for an organized wall display

    How we made this guide

    This guide combines selected public bathroom-safety guidance with approved Vervida product facts. It does not replace local building requirements, electrical advice, or the instructions supplied with the selected shelf configuration.

    Start with moisture and ventilation

    Before planning shelves, address active leaks and persistent condensation, and confirm that the bathroom exhaust fan works and vents outdoors. A shelf listed for bathroom use is not automatically waterproof or moisture-proof. Treat the surface, ventilation, and the distance from direct splash as separate planning questions.

    Choose a useful dry-zone location

    Measure the items you want to store and leave clearance around fixtures, doors, and traffic paths. In spaces where accessibility rules apply, protruding-object requirements can limit how far an item projects into a circulation route. Residential needs and local rules vary, so use this as a reason to measure rather than a universal placement rule.

    Check what is behind the wall

    Bathroom walls can contain plumbing and electrical services. Identify the drilling area before committing to a layout. Bathrooms also have specific electrical-safety requirements; consult a qualified electrician when the location or required electrical work is uncertain.

    Keep heavy and high storage deliberate

    For earthquake-risk planning, FEMA advises anchoring objects to wall studs where possible and keeping heavy or large items stored high closer to the floor. This is context-specific guidance, not a Vervida installation instruction. Consider the wall, the shelf system, and the actual objects together.

    What the product facts do and do not say

    The approved Vervida launch configuration is a set of three matte-black engineered-wood shelves, each 24 inches long, 5.8 inches deep, and 1.5 inches thick, with hidden metal brackets and mounting hardware. Its product listing includes bathroom and over-toilet use, but that does not establish waterproofness, universal anchor suitability, or a guaranteed capacity for a particular wall.

    Browse options

    Check current Vervida shelf details

    Suitable and unsuitable scope

    Suitable: Planning dry-zone bathroom storage, measuring the wall area, and identifying questions to confirm before installation.

    Not suitable: Confirming moisture resistance, local-code compliance, electrical safety, or a load rating for a specific bathroom wall.

    Source and limits

    Sources reviewed: EPA indoor-air guidance, U.S. Access Board accessibility guidance where it applies, CPSC’s GFCI fact sheet, and FEMA earthquake guidance. Vervida product details were checked against the 24-inch shelf details on July 22, 2026.

    Bathroom suitability in a manufacturer listing does not establish waterproofness or moisture resistance. Any capacity statement depends on wall construction and installation quality, and no included anchor is approved here for every wall type.

    Related reading

  • How to Install Floating Shelves: A Planning Guide Before You Start

    How to Install Floating Shelves: A Planning Guide Before You Start

    By Vervida Home · Reviewed July 22, 2026

    Floating-shelf installation depends on the exact shelf system, the wall construction, and the items you plan to display. Start with the supplied product instructions, identify suitable support points, and pause for qualified help when the wall or installation plan is uncertain.

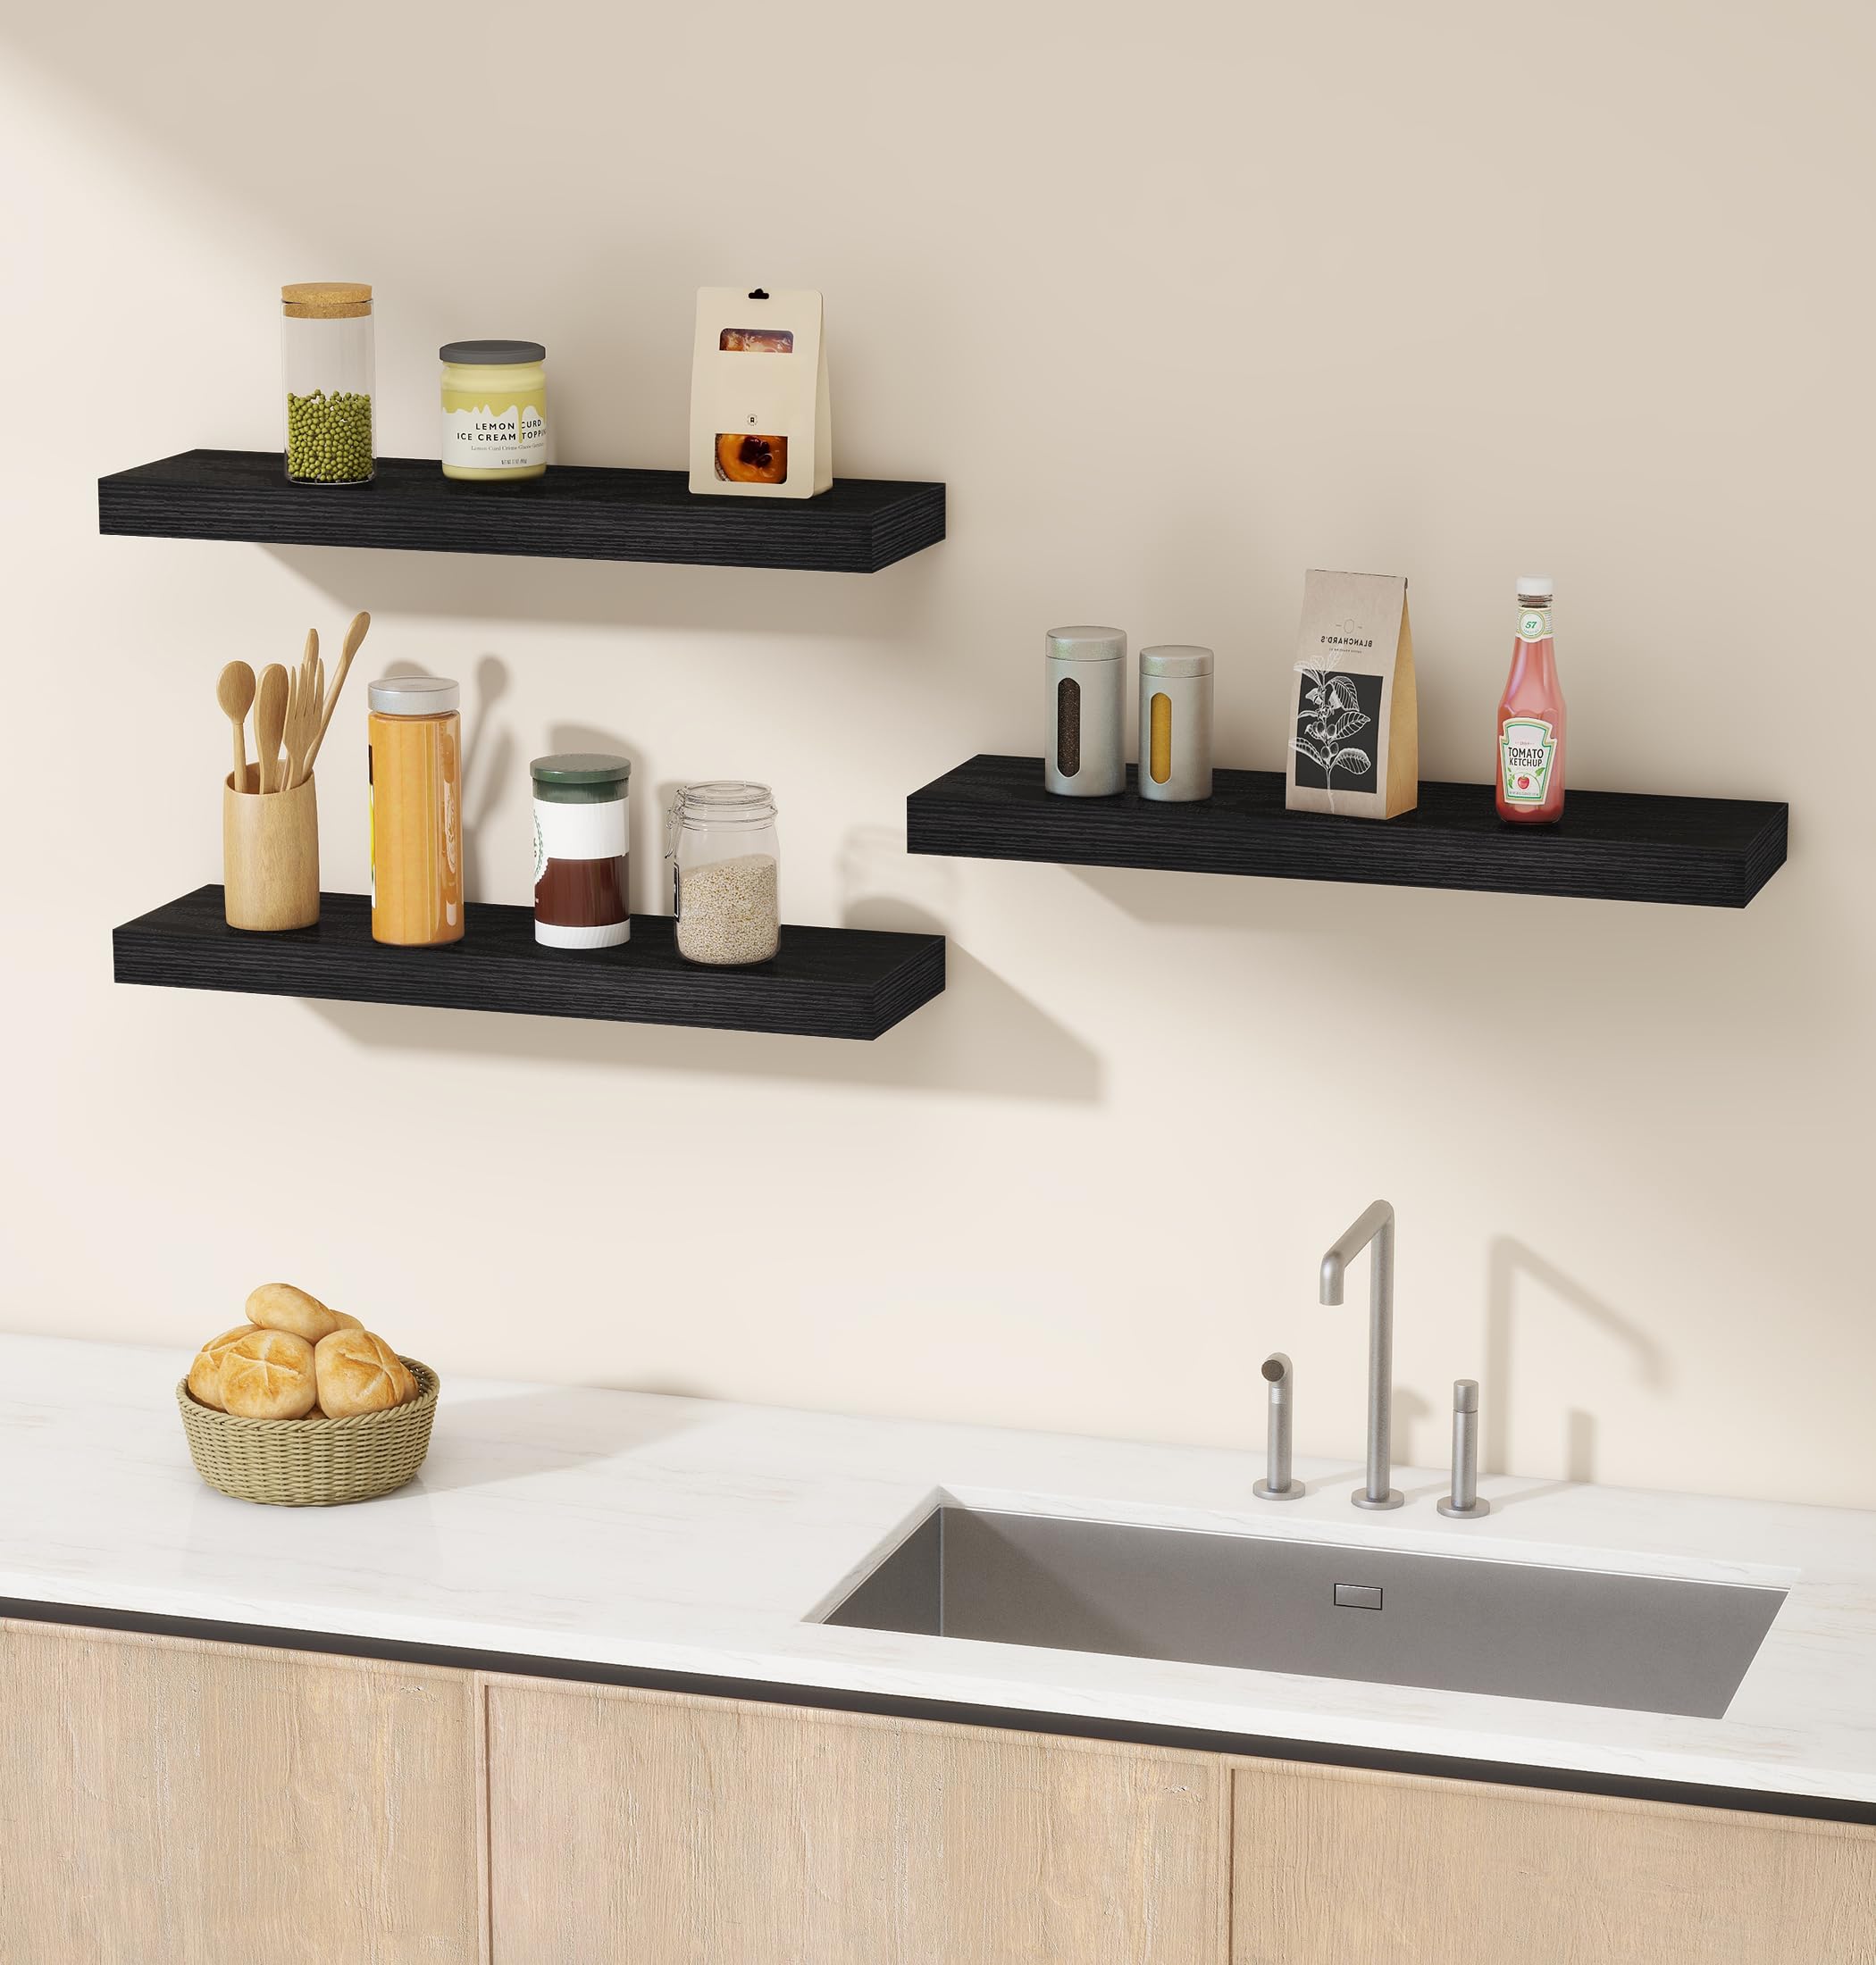
    Black floating shelves mounted above a kitchen counter

    How we made this guide

    This guide distinguishes general floating-shelf planning guidance from approved Vervida product facts. It does not replace the instructions supplied with a shelf or provide wall-specific engineering advice.

    Start with the exact shelf system

    The approved product record for the 24-inch Vervida launch configuration identifies hidden metal brackets, mounting hardware, and instructions. That establishes what comes with the set, but it does not establish a universal sequence, drill-bit size, fastening pattern, or wall rating. Keep the supplied instructions with the selected configuration at the center of the plan.

    Check the wall before marking holes

    General floating-shelf guidance commonly begins by locating suitable support points, checking that the intended bracket position is level, and marking the planned holes before drilling. The correct approach still varies with the mounting surface and the shelf system. Do not assume a wall that looks similar to another wall will accept the same hardware.

    Do not treat included anchors as universal

    When a planned mounting point is not a stud or other confirmed support, do not assume that any included anchor suits the wall. The supporting source material does not approve a universal anchor choice for Vervida shelves. Confirm the wall construction, use the applicable product instructions, and consult a qualified installer when the correct fixing method is unclear.

    Plan the shelf and objects together

    After the shelf is mounted, its intended contents still matter. The manufacturer’s listing states a limit of up to 32 lb, but the approved fact source does not establish whether that figure applies per shelf or per set. Treat the listing as a product reference rather than an independent guarantee, and avoid overloading the shelf.

    A cautious pre-mount checklist

    • Confirm the selected product configuration and supplied instructions.
    • Check wall construction and the proposed mounting location.
    • Plan clearance around fixtures, doors, and the objects to be displayed.
    • Ask a qualified installer when the wall or fixing method cannot be confirmed.

    Browse options

    Check current Vervida shelf details

    Suitable and unsuitable scope

    Suitable: Planning questions before installing a floating shelf where wall conditions and the applicable product instructions can be reviewed.

    Not suitable: Selecting anchors, screw sizes, or a load limit for an unknown wall or a different shelf system.

    Source and limits

    Sources reviewed: the Modern Ember floating-shelf manual and IKEA wall-shelf instructions for general planning principles. They are not Vervida-specific instructions. Vervida product details were checked against the 24-inch shelf details on July 22, 2026.

    The approved product facts do not support tool-free, every-wall, or independently guaranteed capacity claims. Confirm the selected configuration and its supplied instructions before installation.

    Related reading

  • How Deep Should Floating Shelves Be? A Practical Buying Guide

    How Deep Should Floating Shelves Be? A Practical Buying Guide

    By Vervida Home · Reviewed July 22, 2026

    Floating shelves should be deep enough to fully support the largest item you plan to place on them without projecting farther into the room than the space allows. There is no universal ideal depth. Measure the intended objects and installation area, then compare those measurements with the shelf dimensions. Treat depth and load capacity as separate considerations.

    Three black Vervida floating shelves mounted above a kitchen counter

    How we made this guide

    This guide uses the approved Vervida product fact source, an approved local product image, and selected source-backed research. It does not report hands-on testing or independent capacity testing.

    Start with the largest intended item

    Measure the front-to-back dimension of the largest object you expect the shelf to hold. Books stored flat should be fully supported by the surface underneath. Apply the same measurement-first approach to other objects instead of relying on a room-based rule of thumb.

    Account for projection into the room

    A shallow shelf can use wall space while reducing how far the shelf projects into a room. This can matter in compact areas or along circulation paths. Balance that benefit against the surface area required to support the intended items.

    Why there is no standard depth

    Documented wall-shelf examples include depths of 7⅞, 9, 10¼, 11, 11¾, 12⅝, and 14⅝ inches. This range illustrates why buyers should compare actual dimensions instead of assuming all floating shelves have a standard depth.

    Do not use depth as a capacity shortcut

    A deeper shelf is not automatically able to support more weight. Load limits can vary with the shelf system, wall construction, fastening, and installation. Confirm the wall construction and follow the shelf manufacturer’s product and installation instructions when evaluating suitability.

    A simple comparison process

    List the objects you intend to display, measure the largest front-to-back dimension, and note the available room projection. Eliminate options that do not fully support the intended objects or that extend too far into the space. Then evaluate installation requirements and stated limits separately from depth.

    Browse options

    Check current Vervida shelf details

    Suitable and unsuitable scope

    Suitable: Comparing floating-shelf depths based on measured object size, available wall space, and room projection.

    Not suitable: Determining load capacity, fastening requirements, or installation safety for a specific wall and shelf system.

    Source and limits

    Sources reviewed: Library of Congress book-storage guidance for the support principle, and IKEA’s wall-shelf buying guide for examples of shelf-depth variation. Vervida product details were checked against the 24-inch shelf details on July 22, 2026.

    This guide does not assign universal depths to particular rooms or objects. Depth alone does not establish load capacity, moisture resistance, installation safety, or suitability for a specific item; confirm wall construction and follow the applicable product instructions.

    Related reading